Salam and Hi ~
Minggu ini, dalam kelas kami diberi tugasan untuk membuat 4 activities dalam kelas...
Activity 1: Develop a motion tween animation of pendulum~
Activity 2: Upload a morphing animation of butterfly life cycle .. start from larva to butterfly..
Activity 3: Implementing frame-by-frame skill, sketch a cartoon and animate it..
Activity 4: Animate the process of pollination agent..
Selain task-task ini kami juga diberi tugasan lain~ di mana kami perlu explore apps 4 ini dan lakukan beberapa activities untuk setipa interaction seperti di bawah~
Terdapat empat jenis interaction iaitu
1. Creating Main Menu
Creating main menu buttons is essential for interactive website to navigate from one page to another.
2. Multiple Choice Questions
This type of applications allow students to get interactive feedbacks from the content. Users could also could create flash-based quizzes with multimedia elements, such as images, sounds, narrations, movies and so on.
3. Text Entry Questions
Allow users to develop quizzes and allow interactive communication between the user and the content.
4. Drag and Drop
It is another applications that users could build in flash to make learning activities more fun and interesting.
Ini adalah soalan untuk aktiviti 4..
2. Create one application that allows users to type an input of question provided.
3. Create a Main Menu that contain following actions:
- A button that navigate from one page to another.
- A button that navigate from one scene to particular frame of different scene
- A button that navigate users to other webpage
4. Based on your own creativity, create a simple flash application that involves drag and drop function.
Untuk lihat semua aktiviti ni yang telah saya buat, sila lawat ke site ini~ :)
Here the steps untuk setiap aktiviti~ :)
TASK
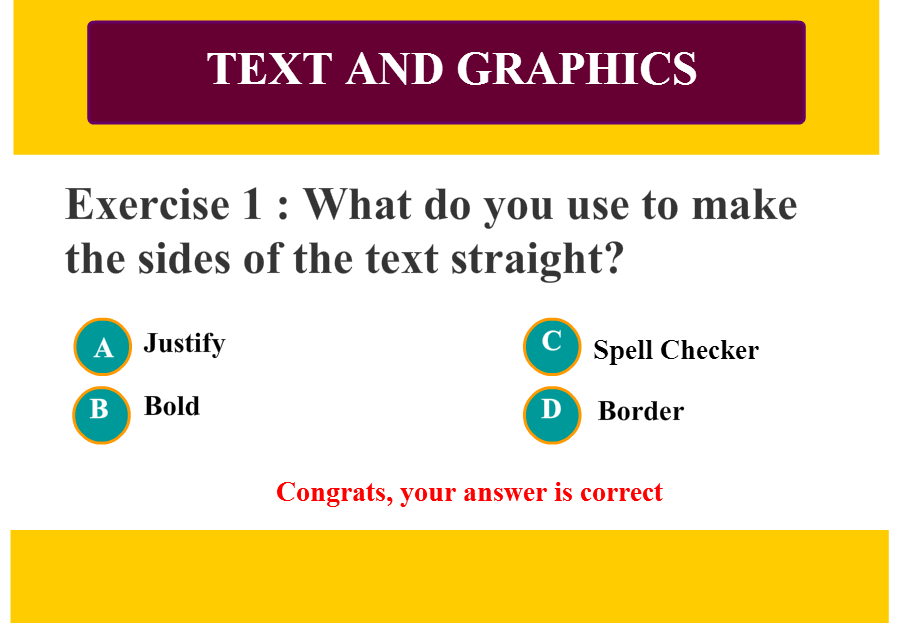
1. Create a multiple choice questions that will provide a correct or incorrect
response upon your answer.
1. For the first layer, rename it as
background and create the background, text for the stage.
2. Insert a new layer and rename it as
question.
3. Then, choose the text tool and
choose the static text at the properties panel and start typing the questions.
4. Create an oval button and changes
the colour and resizes~
5. Using text tool type A on the
button.
6. Convert the button to symbol (button
type).
7. Repeat the same steps to create
B,C and D buttons.
8. Insert new layer and rename as
respon..
9. Then, choose text tool and choose
the dynamic text in the properties panel.
10. Rename the variable as respon.
11. Insert another layer and rename
as Action.
12. Put the action script (right
click>action)
stop();
var respon;
respon = " "
13. For the right answer which is A
put this action script on the button~
on (release) {
respon = "Congrats, your answer is correct";
}
14. For the wrong answer which is
B,C,D put this action script on the button
on (release) {
respon = "Congrates, Your answer is correct!";
}
15. Test Movie (Ctrl+Enter)
TADAAA~
This is the example when I click A which is the right answer~
This is the example when I Click the wrong answer~

TASK
2 Create one application that allows users to type an input of question
provided.
1. For Layer 1, create the
background using multiple colors of rectangles and type the text for the
topic. (choose the static text in properties panel)
2. Insert a layer and rename the
layer as question and start type the questions. (Choose the static text in properties
panel)
3. Then, create rectangle below the
question and insert a text in it using text tool. For this text,
5. After that, choose text tool
again and this time choose dynamic text.
6. Insert a new layer and rename it
as button.
7. Drag the play button from the
library.
8. Insert a new layer name as stop.
9. Right Click on keyframe and
choose actions. Type the actionscript below.
stp();
var
answer;
var
respon;
answer=""
respon=""o
10. Then, select the button
and right click and insert actionscript as below..
on(release)
{if (answer == "print client") { respon= "Correct!";}
else {
respon = "Incorrect, Your answer
"+answer+"is wrong";
}
}
on(release,
keyPress "<Enter>") {if (answer == "print client") {
respon="Correct!";}
else {
respon = "Incorrect, Your answer
"+answer+"is wrong";
}
}
11. Input textfield name as answer
and dynamic textfield as respon on the variables at properties panel.
12. Test Movie (Ctrl+Enter)
And here the RESULTS~
When type the correct answer it will show "Correct"

When type the wrong answer it will show as below..

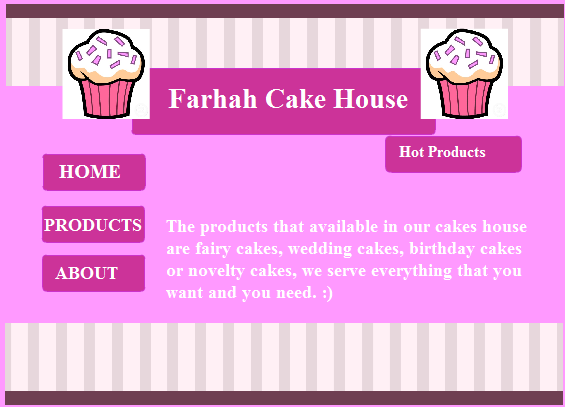
TASK
3 Create a Main Menu that contain following actions:
- A button that navigate from one page to another.
- A button that navigate from one scene to particular frame of different scene
- A button that navigate users to other webpage.
1. First, design the background on layer 1 and rename it to background.
2. For the button HOME, PRODUCTS and ABOUT, type the name in the instance name as example HOME as home and so on.
3. Create the other scene that the same as Scene 1 by click Windows>Other panels>Scene and scene windows will appear. Click duplicate symbol to copy a new scene.Rename the scene as Scene 2.
4. Type anything in both scenes to differentiate between the scene.
5. Test the movie and we will see the page is like blinking. This happened because it's nonstop.
6. So, we have to insert action script on button layer to make it stop.
stop();
7. Test again and the page is not blinking anymore.
8. Then, insert key frame for all the layers in both scenes (eg. frame 20).
9. In Scene 2, create new layer name as "product" and productpage.
10. Create other layer to stop command in the actionscript.
11. To make the product button works, each time user click it. Right click on the product button and insert this below actionscript.
on(release) {
gotoAndPlay("Scene 2",1);
)
12. While for the home button, Right click on the home button and insert this below actionscript..
on(release) {
gotoAndPlay("Scene 1",1);
)
13. Test movie. Then, when click the home or product button, it will navigate to the specified page.
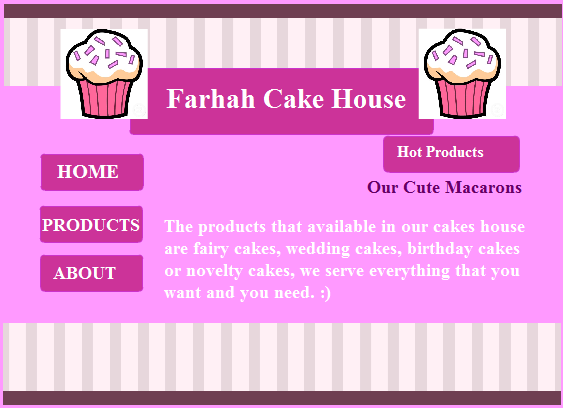
14. To navigate to the different frame but the same scene. As example, in my task I put a hot product button. So, when click the button the info about the product will appear at the same scene. Insert frame in between the keyframe as example frame 10 on the product layer. Name it as hotproduct.
15. Insert button for the HOT PRODUCT in scene 2..
16. Then use text tool to create a dynamic text for the information of the hot product.
17. Type this below actionscript to make the button works..
on(release) {
gotoAndPlay("Scene 2","hotproduct");
)
18. For the about button, it's funtion to link to the webpage..So, type this below actionscript..
on(release) {
getURL("http://cakeshouse.com/");
)
19.Test Movie (Ctrl+Enter)
The HOME page~

The PRODUCT page before click the hot product button~
PRODUCT page where the info of the hot product appear~
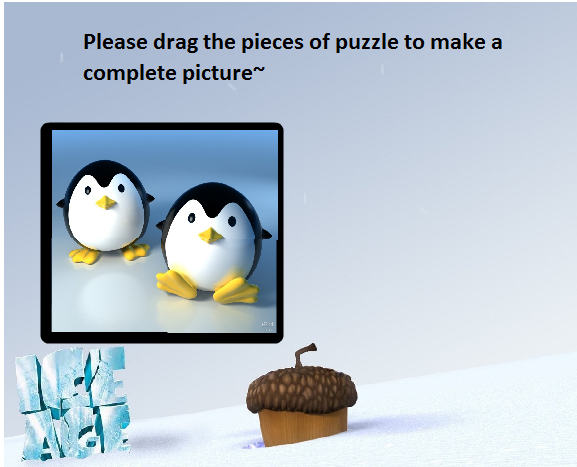
TASK 4 Based on your own creativity, create a simple flash
application that involves drag and drop function.
1. First, import a picture
as background and rename the layer as background.
2. Insert text using
text tool which will ask the user to drag and drop the puzzle at the right
place.
3. Insert picture and
use rectangle to make the border.
4. Then drag the picture
out of the border.
5. To make the picture
separated, so it can become pieces of puzzle, breakapart the picture and use
free transform tool to separate it.
6. Then, convert the
rectangle to symbol as movie clip.
7. Next, right click on
the piece of puzzle and insert this below actionscript.
on(press) {
startDrag(this,true);
}
on(release){
stopDrag();
}
8. Test Movie
(Ctrl+Enter)
Before drag the pieces of puzzle~

Complete puzzle~ :)